Bar Build!
![](bar_build_files/shapeimage_2.png)
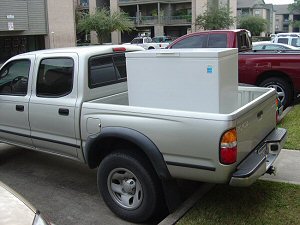
In all it's mighty glory. The 10CF Woods Freezer. $149.00 at Home Depot, damaged version...
![](bar_build_files/bar108.jpg)
![](bar_build_files/shapeimage_2_1.png)
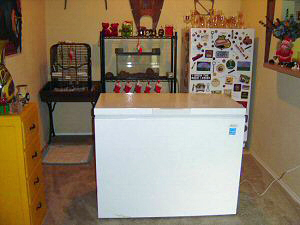
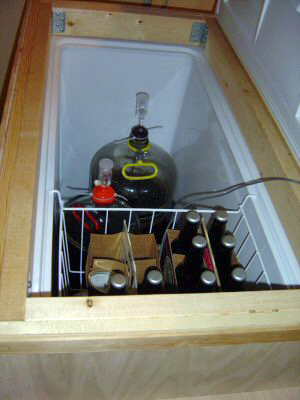
It's new home... The idea is to turn this little apartment space into a bar. Behind the new freezer is the other freezer for fermenting.
![](bar_build_files/bar109.jpg)
![](bar_build_files/shapeimage_2_2.png)
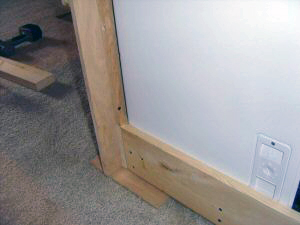
The lower 2" X 4" collar. The feet I added don't do much, but they are there none the less.
![](bar_build_files/bar110.jpg)
![](bar_build_files/shapeimage_2_3.png)
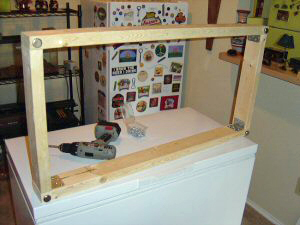
Upper and lower collar in place. Other than the feet on the bottom collar, they are built the exact same. One slips on the bottom, and one on the top.
![](bar_build_files/bar112.jpg)
![](bar_build_files/shapeimage_2_4.png)
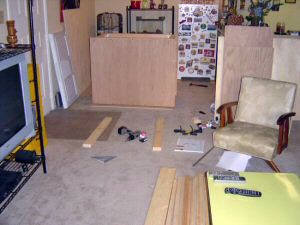
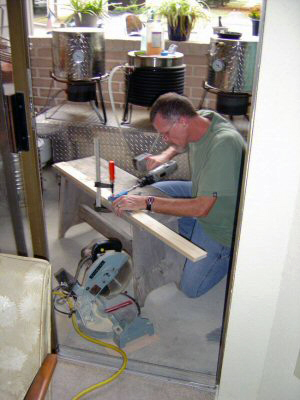
The house is a wreck for three days! I miss my guitar shop... When the wife gets home, the craps going to hit the fan...
![](bar_build_files/bar114.jpg)
![](bar_build_files/shapeimage_2_5.png)
The side reinforcements.
![](bar_build_files/bar115.jpg)
![](bar_build_files/shapeimage_2_6.png)
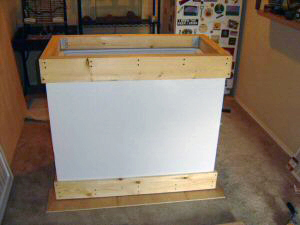
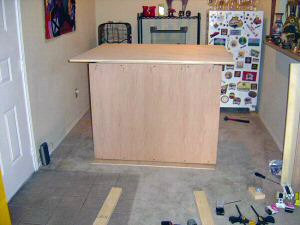
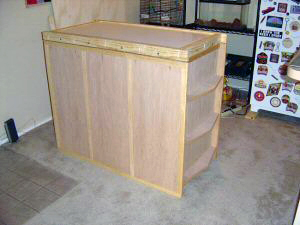
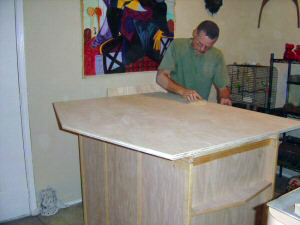
Paneled out, and top in place for looks. Hummm, looks like this will work!
![](bar_build_files/bar116.jpg)
![](bar_build_files/shapeimage_2_7.png)
Shelving work.
![](bar_build_files/bar117.jpg)
![](bar_build_files/shapeimage_2_8.png)
More shelving action...
![](bar_build_files/bar118.jpg)
![](bar_build_files/shapeimage_2_9.png)
Shelving installed, both sides.
![](bar_build_files/bar119.jpg)
![](bar_build_files/shapeimage_2_10.png)
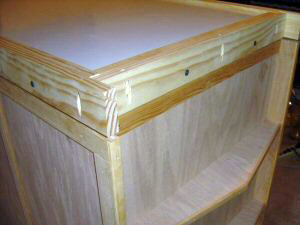
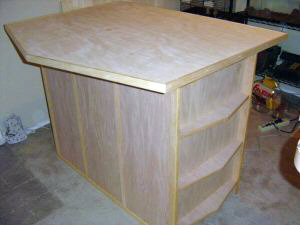
All trimmed out and fitting the freezer top back on the new collar.
![](bar_build_files/bar121.jpg)
![](bar_build_files/shapeimage_2_11.png)
And of course while I was building it, I kept the beer very close...
![](bar_build_files/bar122.jpg)
![](bar_build_files/shapeimage_2_12.png)
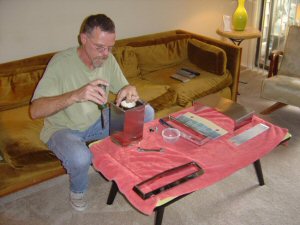
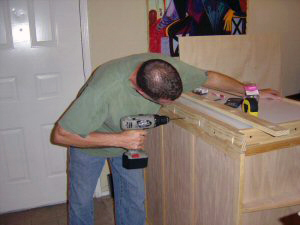
The Kreg Pocket hole jig... A must for cabinet work.
![](bar_build_files/bar123.jpg)
![](bar_build_files/shapeimage_2_13.png)
Fitting the top collar. This will serve as a place to screw the bar top onto.
![](bar_build_files/bar124.jpg)
![](bar_build_files/shapeimage_2_14.png)
Top collar complete.
![](bar_build_files/bar125.jpg)
![](bar_build_files/shapeimage_2_15.png)
Day three...
![](bar_build_files/bar126.jpg)
![](bar_build_files/shapeimage_2_16.png)
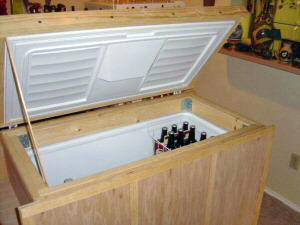
The hinges are installed.
![](bar_build_files/bar127.jpg)
![](bar_build_files/shapeimage_2_17.png)
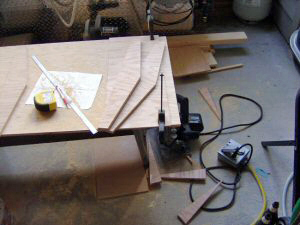
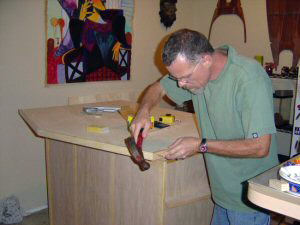
Cutting the front bar top edge. This should give it a good 60's style look to match the tower.
![](bar_build_files/bar128.jpg)
![](bar_build_files/shapeimage_2_18.png)
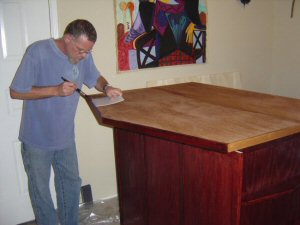
Preparing for the finish.
![](bar_build_files/bar129.jpg)
![](bar_build_files/shapeimage_2_19.png)
Trimming out the table top edge.
![](bar_build_files/bar130.jpg)
![](bar_build_files/shapeimage_2_20.png)
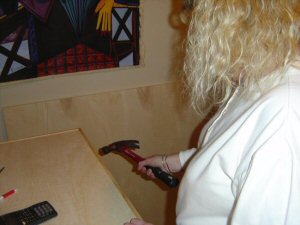
And the wife drives the very last nail... Subsequently, this nail bent, and I had to install another very last nail...
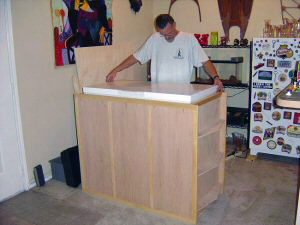
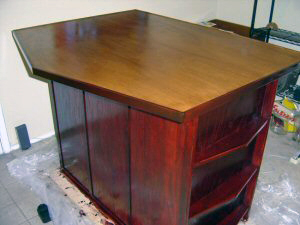
![](bar_build_files/bar131.jpg)
![](bar_build_files/shapeimage_2_21.png)
Ready for finish!
![](bar_build_files/bar132.jpg)
![](bar_build_files/shapeimage_2_22.png)
And the wife's ready for me to finish too...
![](bar_build_files/bar133.jpg)
![](bar_build_files/shapeimage_2_23.png)
So I did...
![](bar_build_files/bar134.jpg)
![](bar_build_files/shapeimage_2_24.png)
First finishing coats are done at day 4.
![](bar_build_files/bar135.jpg)
![](bar_build_files/shapeimage_2_25.png)
Now the Perlick deserves attention... We received this tower in great shape... But being a Virgo, I had to completely tear it down and rebuild it anyway.
![](bar_build_files/bar136.jpg)
![](bar_build_files/shapeimage_2_26.png)
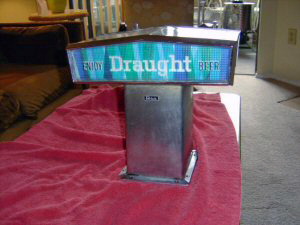
This will have 4 new Perlick Forward-seats installed when complete.
![](bar_build_files/bar137.jpg)
![](bar_build_files/shapeimage_2_27.png)
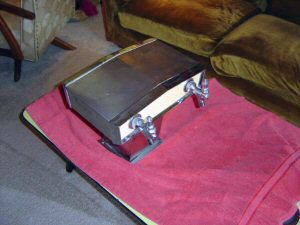
A complete rebuild. The Perlick cleaned up nicely. You wont believe how heavy this thing is.
![](bar_build_files/bar138.jpg)
![](bar_build_files/shapeimage_2_28.png)